
Updated: June 9, 2023.
In this short guide, I’m showing you how to create, access, and modify robots.txt in WordPress in 4 simple ways.
If you are serious about your website (and especially if you have a bigger website), you should definitely control its robots.txt file. With WordPress websites, fortunately, it is quite easy to do.
Let me show you 4 simple ways to access and modify the robots.txt file in WordPress.

Basic information about the robots.txt file
Robots.txt is the file that informs search engine bots about the pages or files that should or should not be crawled.
- The robots.txt file is supposed to protect a website from overloading it with requests from crawlers (check my full guide on the crawl budget optimization).
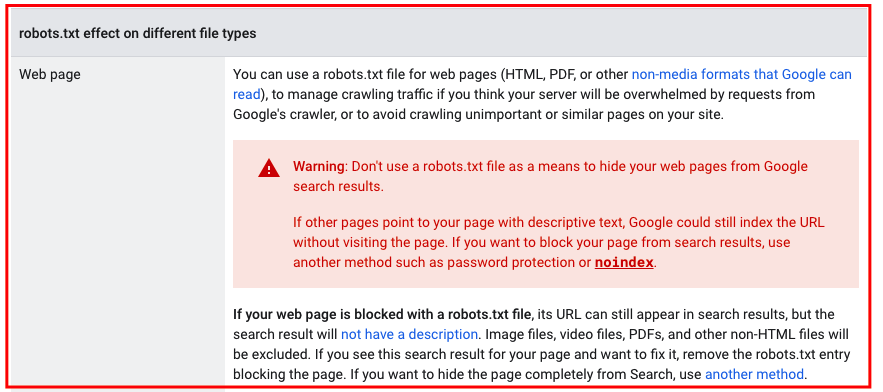
- The robots.txt file is not a way to block web pages or files from getting indexed and appearing in search results. Here is a reminder from Google:
- Search engine crawlers always start crawling your website by checking the directives in robots.txt.
- Search engines should but do not always respect the directives provided in robots.txt (Google does).
- Most website crawlers let you configure them to either ignore or respect robots.txt.
In case you need a small reminder, here is some basic technical information about robots.txt:
- The only correct robots.txt location is the root (the main directory) of the website. This applies to any website whether or not it is a WordPress website.
- One website (one domain) can only have one robots.txt file.
- The only acceptable name for the file is robots.txt.
- Robots.txt needs to be a UTF-8 encoded text file.
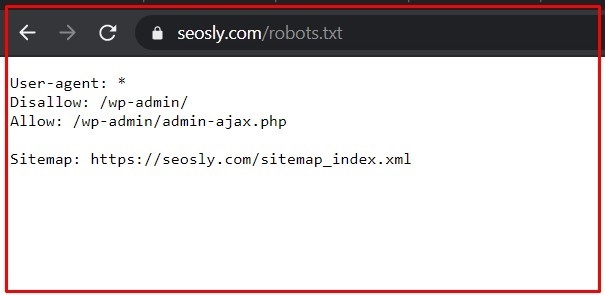
With that in mind, the WordPress robots.txt location is the same as for any other website. It is the root of the website.
In the case of my website, this is https://seosly.com/robots.txt.
Keep in mind that:
- If you have a website available in various languages and specific languages are put in different folders e.g. seosly.com/pl/, then you will have one robots.txt for all language versions.
- If you have different subdomains or different domains for various language versions like seosly.pl, then each language version will have its own separate robots.txt.
A good thing about WordPress is that it lets you access your robots.txt in a few different ways even if you don’t have FTP access.
☝️ If you want to learn more about the robots.txt file, how it works, and what it is, make sure to check the introduction to robots.txt in Google Search Central.
4 ways to access robots.txt in WordPress
And here are the four ways you can access and modify the robots.txt file of your WordPress site
#1: Use an SEO plugin
There are many WordPress SEO plugins but there are practically only two that really count:
There is also All in One SEO but I am not a big fan of this plugin. All of those SEO plugins let you access and modify robots.txt easily.
Access robots.txt with Rank Math
If you are using Rank Math, here is what you need to do:
- Log in to your WordPress Dashboard as admin. Note that only admins can modify plugins.
- Navigate to Rank Math SEO.
- In the left sidebar under Rank Math, you will see different Rank Math settings. Click General Settings.
- You will now see a list of general SEO settings. Click on Edit robots.txt.
- If you don’t do anything, Rank Math will automatically handle robots.txt for you as you can see in the screenshot below.
- If you want to modify robots.txt, simply start typing in the text field and click Save Changes.
- If you are not sure about what to put in robots.txt or you do something wrong, just click Reset Options.
That’s it for Rank Math and robots.txt.
Access robots.txt with Yoast SEO
Here is what to do if you are using Yoast SEO:
- Log in to your WordPress Dashboard as an admin. Remember that only admins can modify plugin settings.
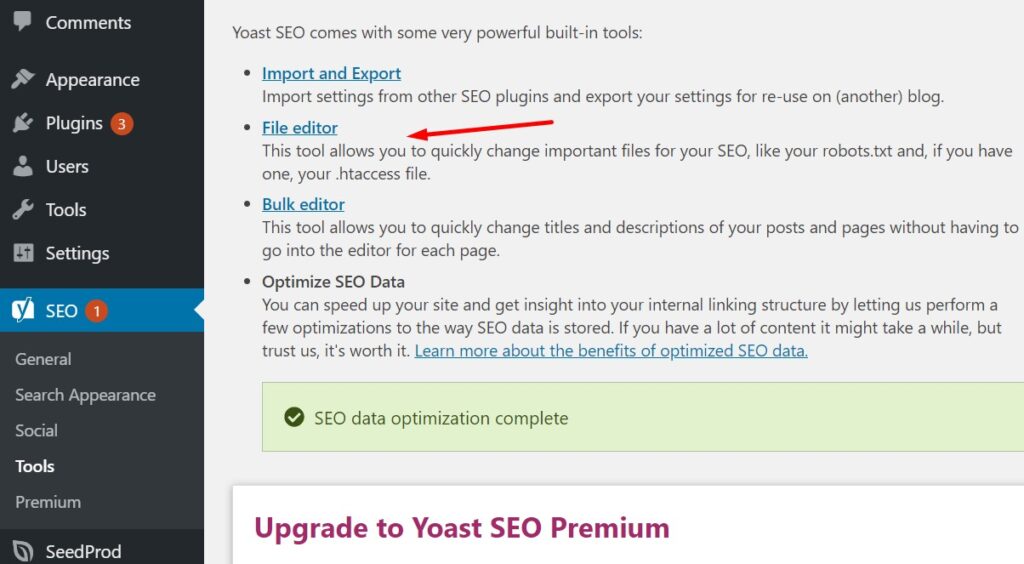
- Navigate to SEO.
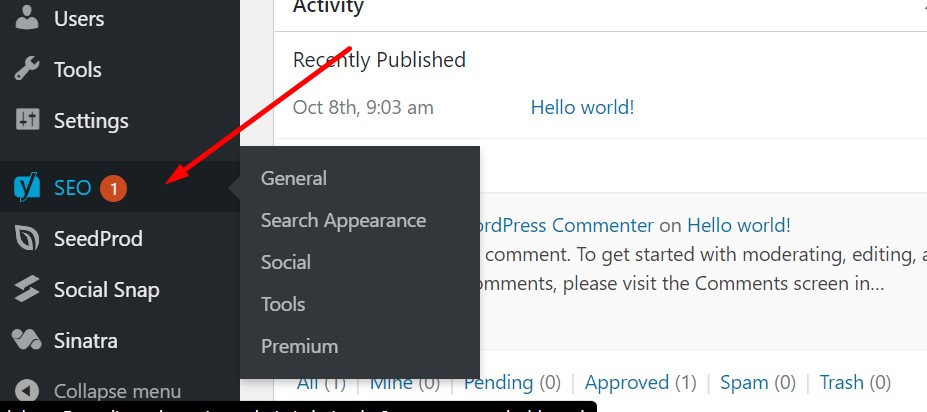
- In the left sidebar, you will see a couple of settings under SEO. Click on Tools.
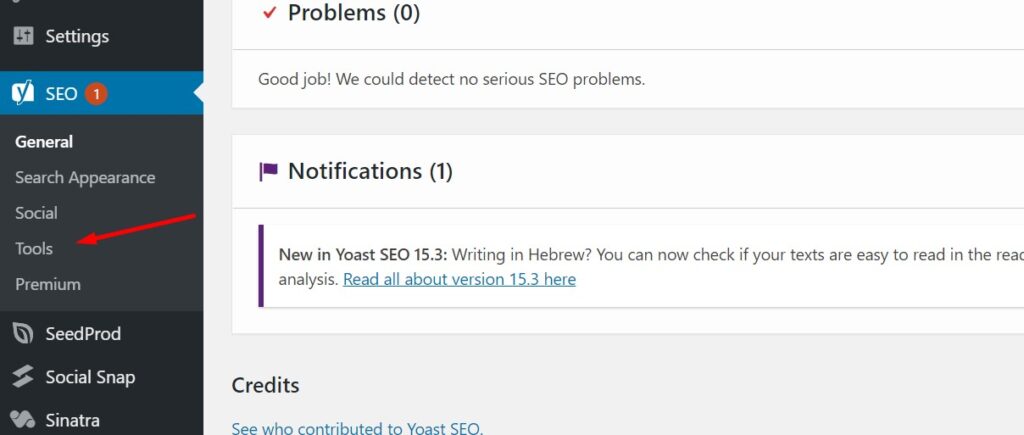
- Click on File editor.
- Now you can modify the robots.txt file.
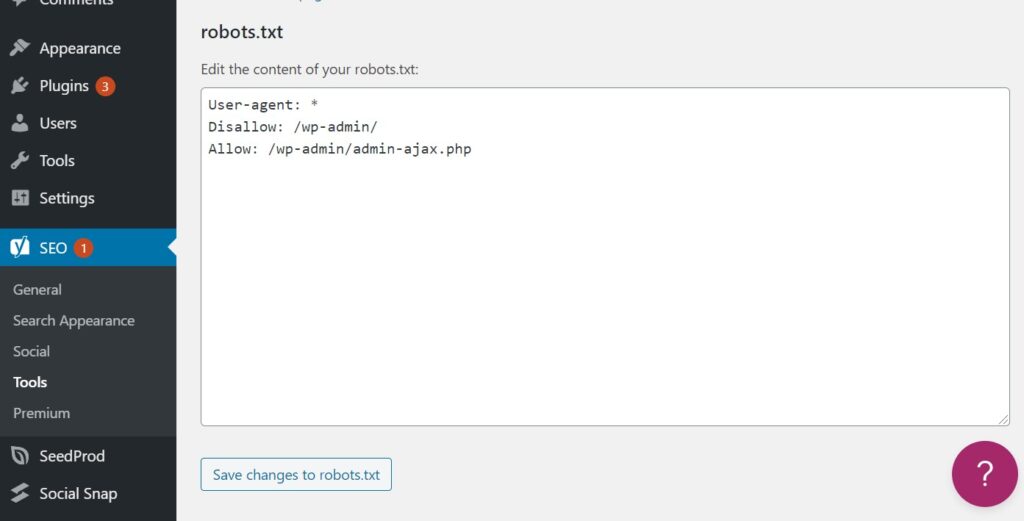
- When you are done, simply click Save changes to robots.txt.
In most WordPress websites, these two methods using these two SEO plugins will do. But there are other ways too.
#2: Use a dedicated robots.txt plugin
There are also lots of different WordPress plugins made specifically to let you edit robots.txt.
Here are the most popular robots.txt WordPress plugins you might want to check:
Each one lets you easily access and modify robots.txt. Below are the quick steps to take to access the robots.txt file using these 3 WordPress plugins.
❗ Note that some plugins do create a robots.txt file that is placed at the root of your website while others create it dynamically. If robots.txt is created dynamically, then you will not find it in the root directory of your website (e.g. via FTP).
❗ Remember not to use multiple robots.txt plugins at the same time!
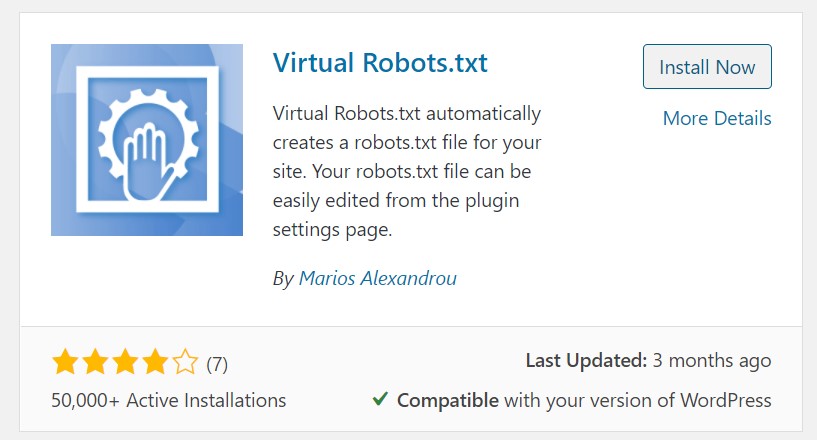
Virtual Robots.txt
Here is how to use the Virtual Robots.txt plugin:
- Install and activate Virtual Robots.txt.
- When in WordPress dashboard, navigate to Settings and then Virtual Robots.txt.
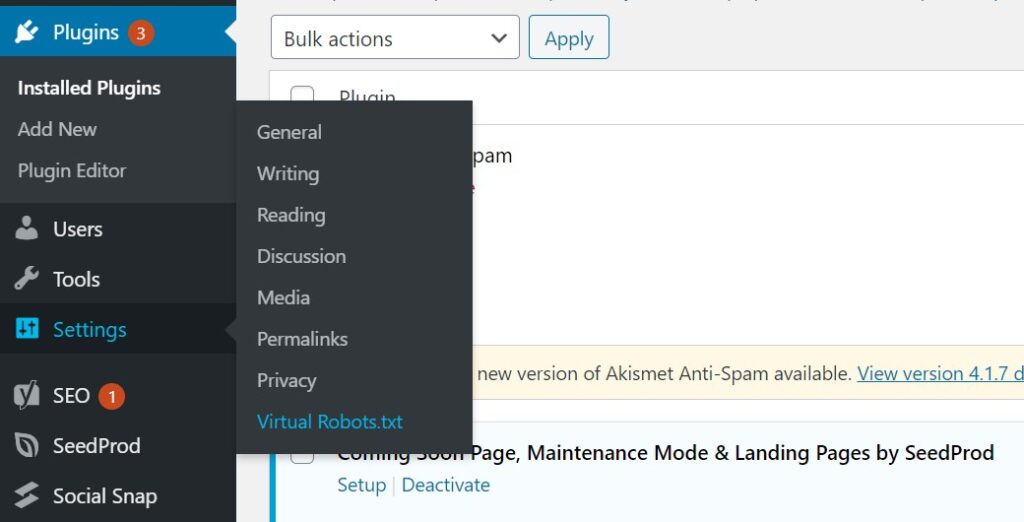
- You can now see your robots.txt file and modify it. When you are done, click Save Changes.
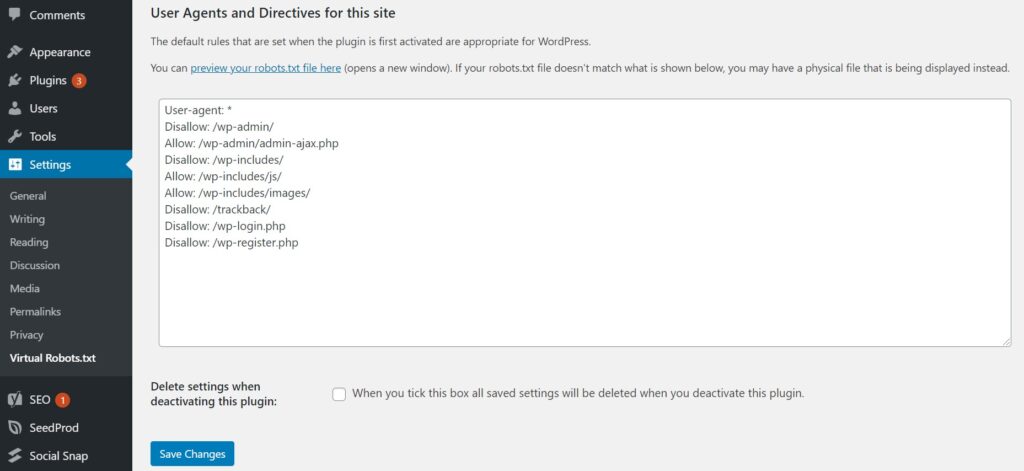
This is it!
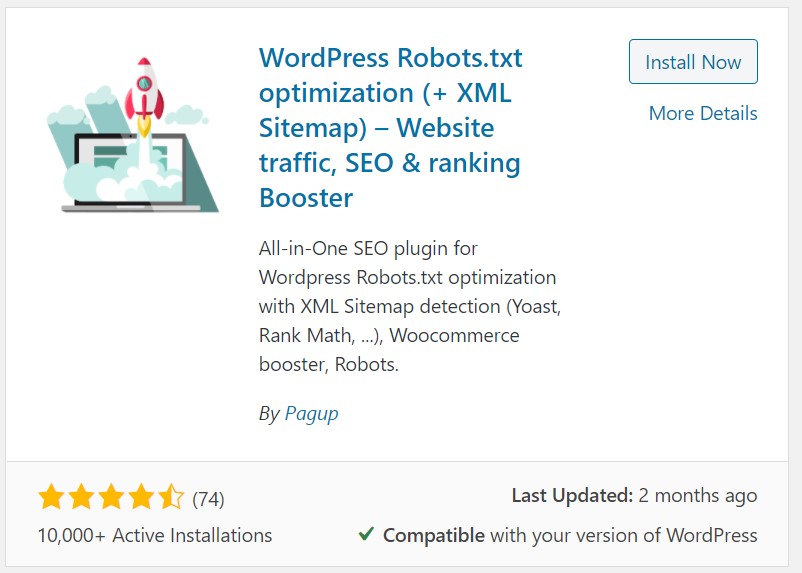
Better Robots.txt
This robots.txt plugin is a bit different than the plugins I showed you above. With Better Robots.txt, you don’t modify a text file but simply adjust settings in a user-friendly panel inside WordPress.
Here is what to:
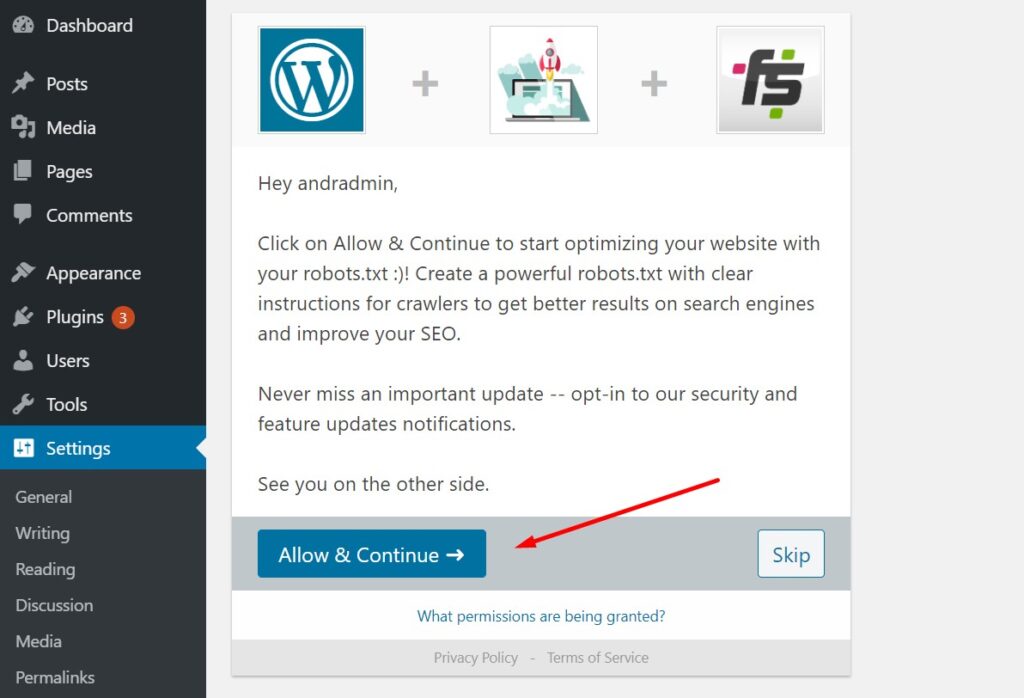
- Install and activate Better Robots.txt. The plugin is also named WordPress Robots.txt optimization.
- Grant the necessary permissions to the plugin.
- Navigate to Better Robots.txt. The plugin will be available in the left sidebar.

- You will now see a lot of useful and user-friendly settings.
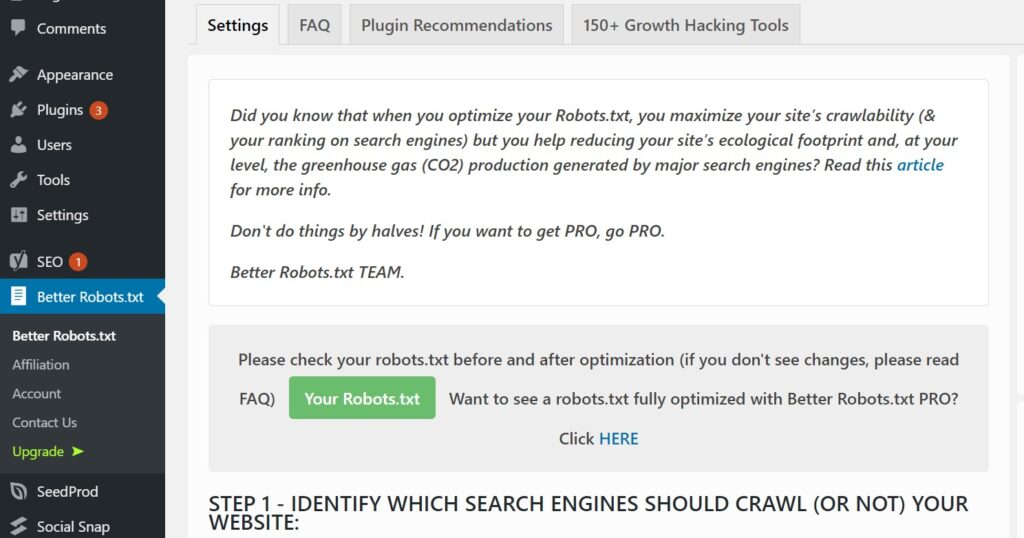
- The plugin also lets you manually allow or disallow specific crawlers.
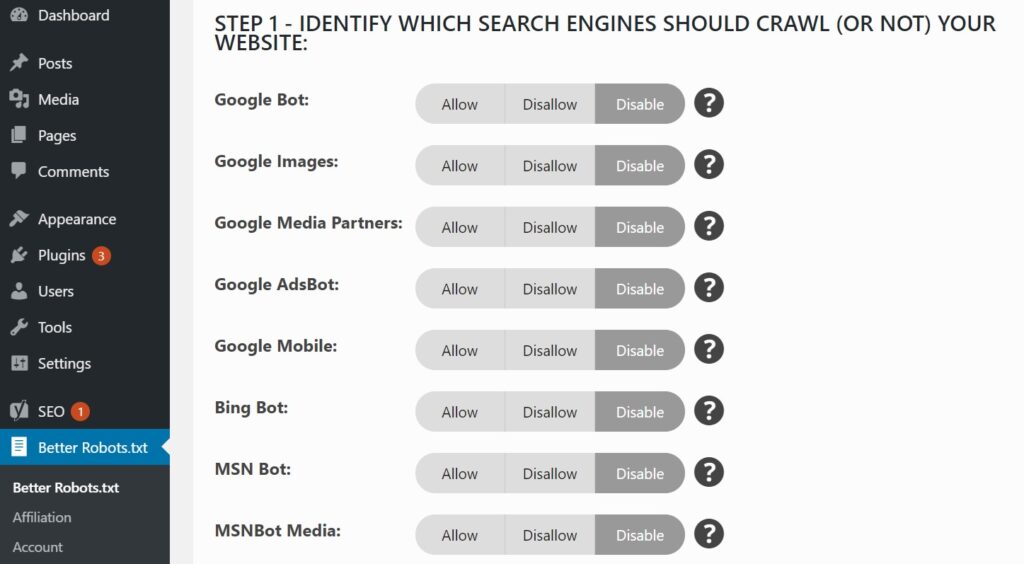
- You can also adjust some settings to protect your data or optimize loading performance.
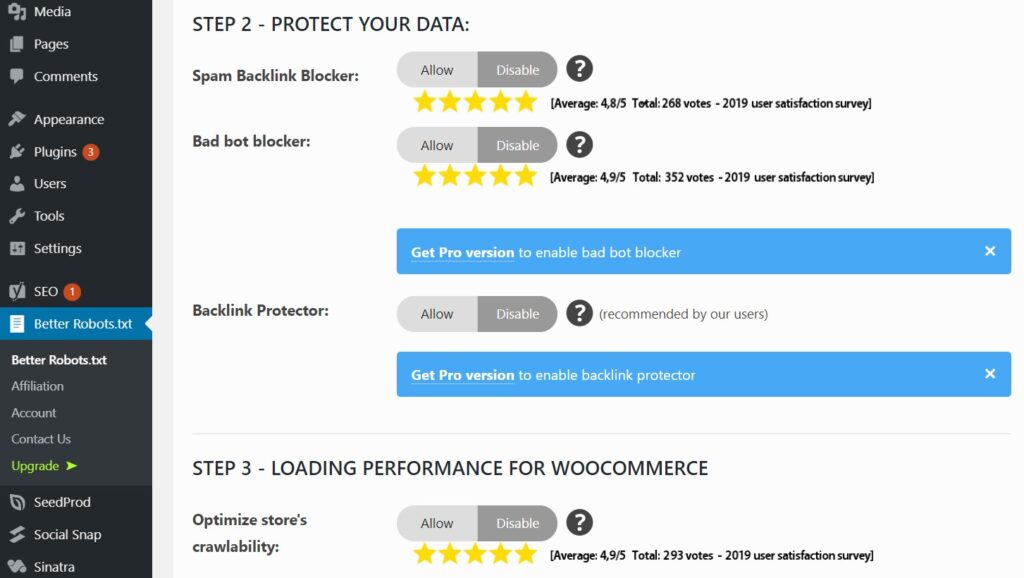
- There are also some other interesting settings the plugin offers. I recommend checking those.
Better Robots.txt essentially lets you create a fully customized robots.txt file without you having to touch a line of code.
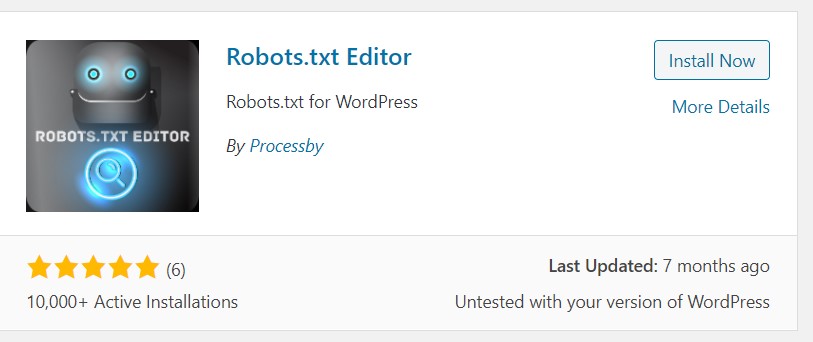
Robots.txt Editor
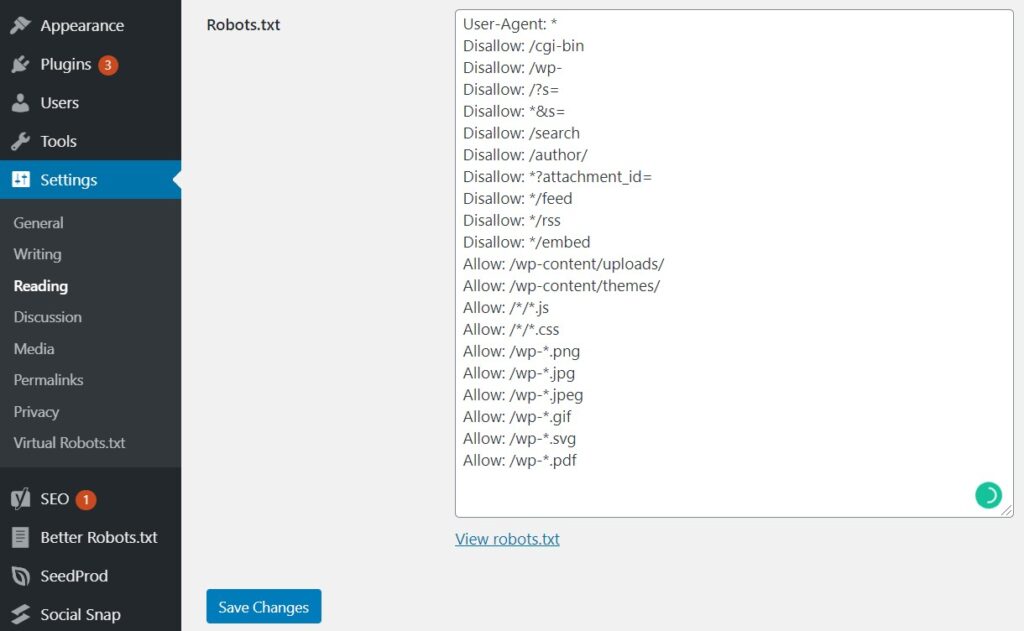
And here is how to use Robots.txt Editor:
- Install and activate Robots.txt Editor.
- Navigate to Plugins > Installed Plugins in your WordPress dashboard. You can also access robots.txt by going to Settings > Reading.
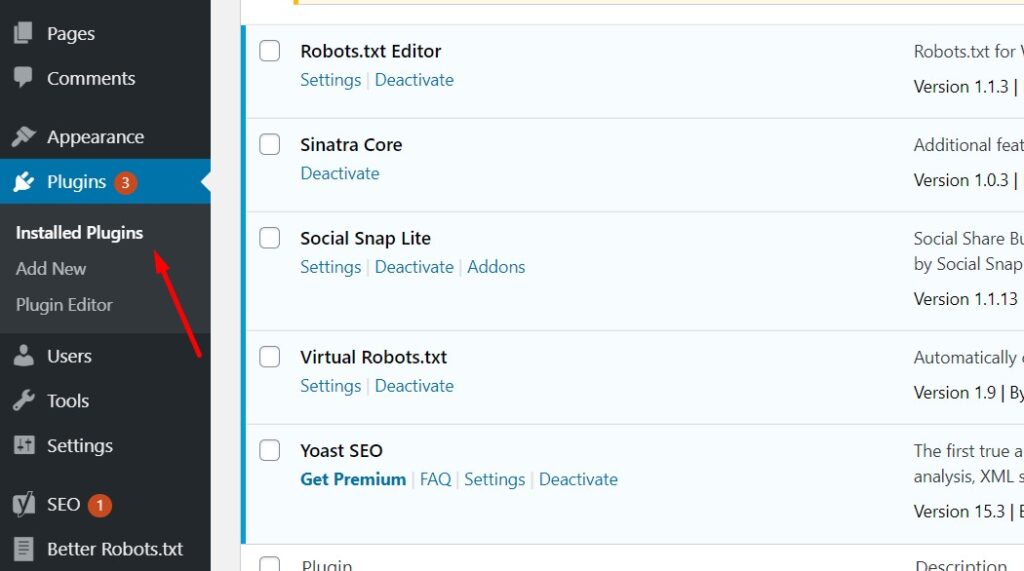
- Click Settings under Robots.txt Editor.
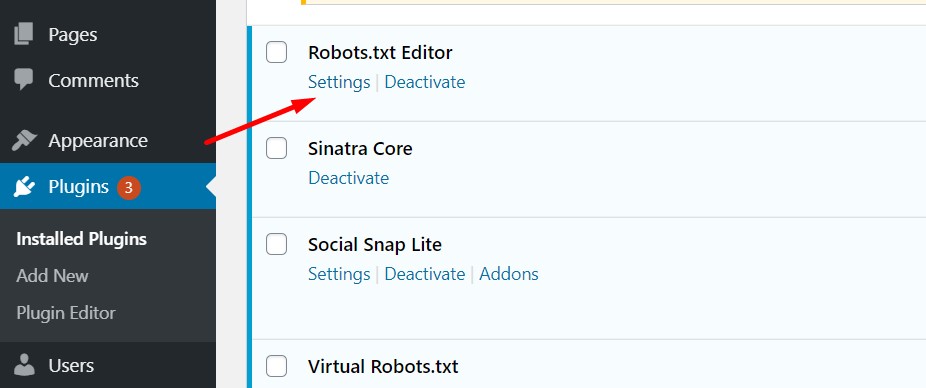
- You can now access and edit your robots.txt file. When you are done, click Save Changes.
❗ Be careful and avoid using multiple robots.txt editors at one time. This can really mess things up. If you use an SEO plugin, you should stick with its robots.txt editor only.
#3: Access robots.txt via cPanel in your hosting
Here I will show you how to upload robots.txt in WordPress without FTP access.
You can also use the cPanel from your hosting to create or modify robots.txt.
Note that some of the plugins shown above dynamically create a robots.txt file. It means that you won’t be able to find the file in the root directory of your website.
❗ If you use a plugin to create and manage robots.txt, then you should not try to manually add a new robots.txt using cPanel or FTP (below).
However, if you don’t rely on those plugins, you are free to manually create and update a robots.txt file to your WordPress website.
Here is how to do it using Bluehost:
- Log in to the cPanel in your hosting.
- Unfold section Advanced.
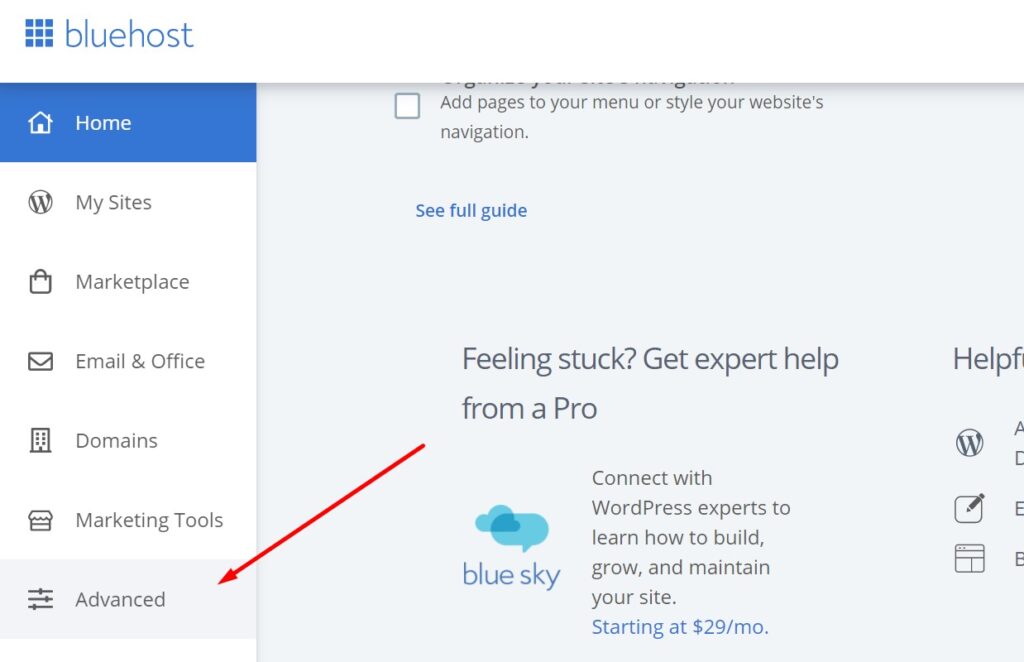
- Click on File Manager.

- Navigate to the root directory of your website.
- Unless you use a plugin that dynamically generates robots.txt, you should see a robots.txt file at the root.

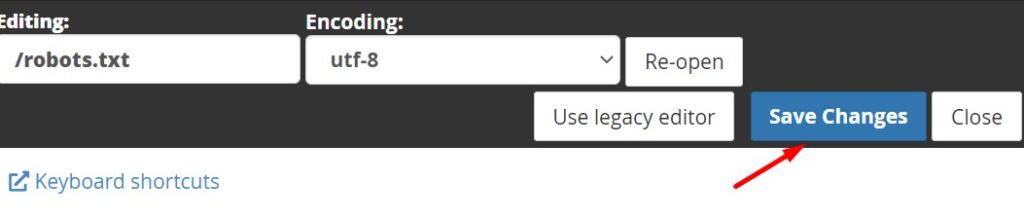
- Click on the robots.txt file and choose Edit.

- You can now edit the contents of robots.txt. When done, click Save Changes.
If your website does not have a robots.txt file, then you need to create and upload one.
Here is what to do:
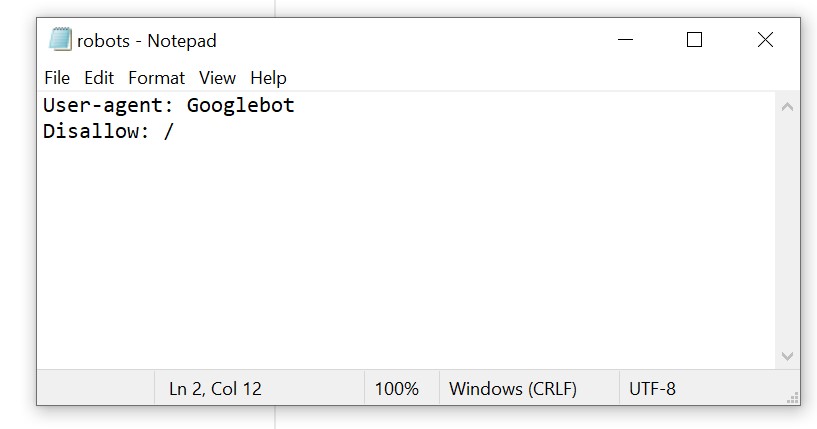
- Open a text file editor like Notepad or Notepad++.
- Create a robots.txt file.
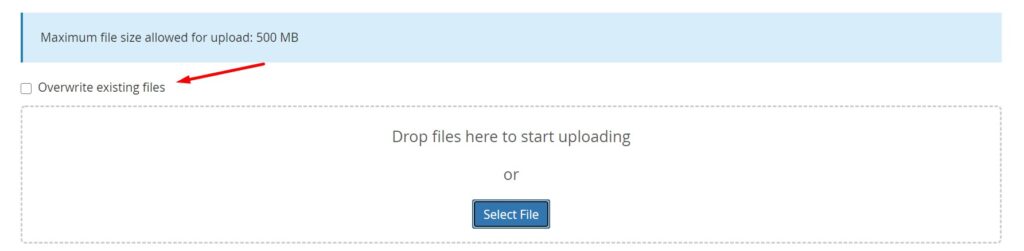
- Upload the file to the main directory of your website. In the case of Bluehost, you simply click Upload when in File manager. Just make sure you are at the root.
This method will work both for WordPress and non-WordPress websites.
#4: Use FTP to access robots.txt
Here I’m showing you how to access robots.txt via FTP.
The quickest and the most “pro” way to access robots.txt is to use FTP. This method also works for any website type, WordPress sites including.
❗ I don’t recommend this method if you use a plugin to automatically generate robots.txt for you.
This method is similar to what you do using the cPanel in your hosting except that this time you are using an FTP client to access your website.
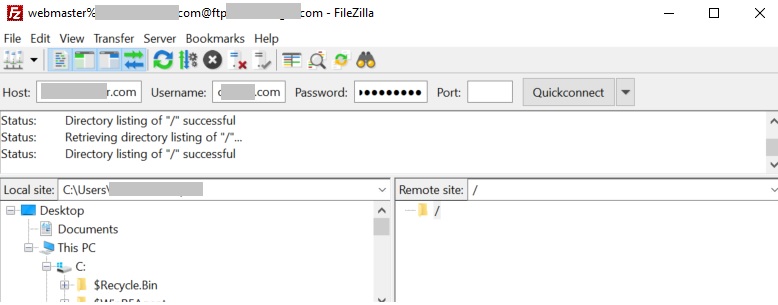
To use this method you need an FTP username and password and an FTP client like Filezilla.
Here is what you need to do:
- Connect to your website via an FTP client.
- Navigate to the root directory of your website if you aren’t there already.
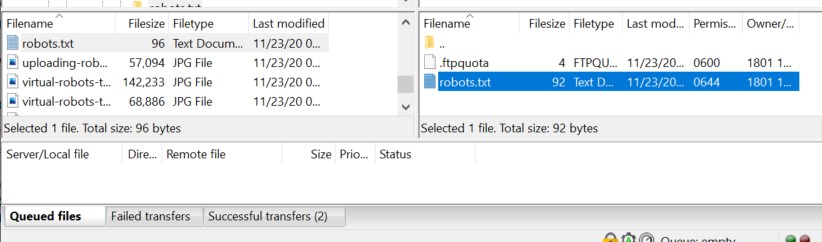
- Download the robots.txt file if it’s there.
- Open the robots.txt file with a text editor like Notepad++.
- Modify the file as needed. Save changes.
- Upload the file to the root directory. This will overwrite the existing robots.txt.
If your website does not have a robots.txt file, this is also the way to create and upload one.
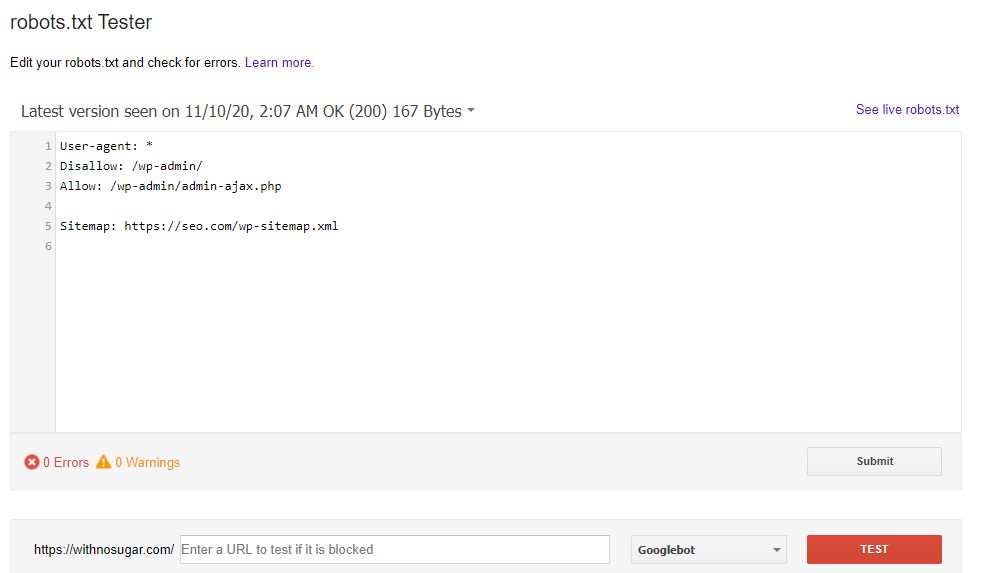
How to test the robots.txt file on your website
If you have implemented some changes to robots.txt, I strongly suggest you test your robots.txt to make sure the file is correct and really does what it is supposed to do.
Here is what to do:
- Read this short article about how to test a robots.txt file
- Use the robots.txt tester tool (part of Google Search Console)
Here are other guides you might be interested in:
- How to verify Google Search Console via WordPress (in 3 simple ways)
- How to find the sitemap of a site (in 8 different ways)
- How to find organic traffic in Google Analytics (and filter out spam bot traffic)
- How to add and remove users in Google Search Console
- How to check if a site is mobile-friendly (in 5 ways)
Thanks for sharing such nice information. you are doing great work. keep it up!